Like we’ve always recommended in most of our videos, Smart DNS Proxy works best if you set it up on your router. This way all of your devices connected to the router have no geo-restricted access. There’s plenty of routers out there like D-link, TP-link, Netgear, etc. with different web interface, and we’ll put out separate videos for those. But for now, let’s see how you can set up Smart DNS Proxy on your Netgear router.
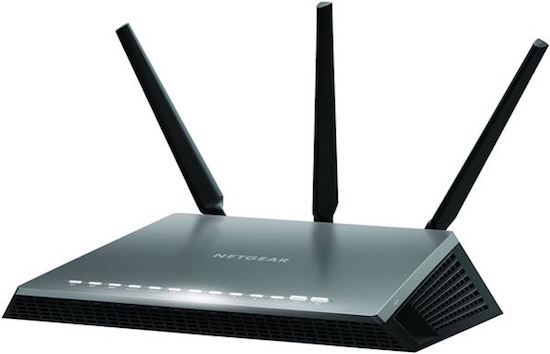
For this instance, we’ll set up SDP on the popular Netgear Nighthawk AC1900, and the steps are pretty much the same for most Netgear routers.
The setup instructions are only needed one time. Once you finish the initial setup, you won't be needing to take the same steps anymore. Your connection will work automatically anytime!
Before we begin, let’s just quickly try to open Pandora. Since I’m not in the US, I see nothing, So, let’s see if we can bypass the geo-restriction with Smart DNS Proxy.
Step 1: Log into your router Admin Panel
Make sure you are connected to your Netgear router. Now, to get into your router’s control panel, you need two things - the router’s login IP address and login username and password.
You can find this information at the back of your router/modem or you can try default credentials for popular routers.
In general, you can get access to your router admin panel by opening up your web browser, and, in the url box, typing in either of these values 192.168.0.1 or 192.168.1.1.
Fun fact: Netgear ships many of its home routers configured to use either www.routerlogin.com or www.routerlogin.net instead of an IP address, so you can try that as well.
Enter the username and password for the router. The default user name is ‘admin’. The default password is ‘password’. If these don’t work, contact the person who has set up your network - he or she might have set up a custom password. (which is a good security practice, but now you need to get in touch with them)
Step 2. Find and change DNS to Smart DNS Proxy
Once you log in, your Netgear router’s interface might look a little bit different from mine, but all you have to do is look for a section where it says DNS Settings.
If you have an entry level Netgear router (poor you), click on “Setup” in the left menu and look for Basic setting options.
Or, if you have High end Netgear router, go to the Advanced tab and look for the setup option. There you find the option to enter custom DNS server. It should be labeled as PRIMARY Server and SECONDARY Server,
Instead of Automatic DNS (i.e. the one that you get from your ISP), choose “Custom DNS”
Use the closest DNS servers to your physical location to get faster streaming. You can find the complete list of servers on our website, the link is in the description or you can find it here.
For this instance, say, if I’m in Canada, then I’ll use two DNS servers from Canada and once you are done, save changes. To make sure the setup is done properly, it's always suggested to have your router restarted. It goes without saying that while you restart your router, the internet will be down for a few seconds so make sure you give a heads-up to everyone.
Step 3 - Activate your new IP address.
Now, just as we did in all our previous Smart DNS Proxy setup, you need to log into your Smart DNS Proxy My Account section and activate your IP address.
If you haven’t already created an account, you can do it now, Smart DNS Proxy offers a 14-day free trial with no credit card required to sign up.
Once you log in, go to My Account section and make sure that you see 3 green ticks.
If your IP shows ‘not active’, simply click UPDATE IP button.
And that’s it, it should work now. Though, do remember, most devices on your network will not begin using the new DNS settings unless you restart the device.
Let’s check now by opening Pandora on the laptop connected to a router and as you can see - it works. Similarly, if you open the hulu app on your smartphone, you should be able to stream content using Smart DNS Proxy.
Overall, it’s best to set up SDP on your router; this way every device connected to your router will automatically be able to unblock geo-restricted content.
Though, do remember, since most home users get dynamic IP address, whenever your router IP changes, our service will stop working for you. You will need to log into Smart DNS Proxy website and under the account section, UPDATE your IP address. Our system will check your IP address and add your new IP to our database. Then you will be able to continue using our service. If this is the first time you set up, we also suggest that you log in with your PC to our site from the same Wired/Wireless network to show our system your IP address.
That’s how you set up SDP on Netgear. Let us know what device you’d like to unblock from geo-restrictions in comments below the video.
If you enjoyed this video, lasso the like button and choke the hell out of it.
Subscribe if you haven’t and when you see that big red button, just click on it to see what happens.
BACK TO NEWS